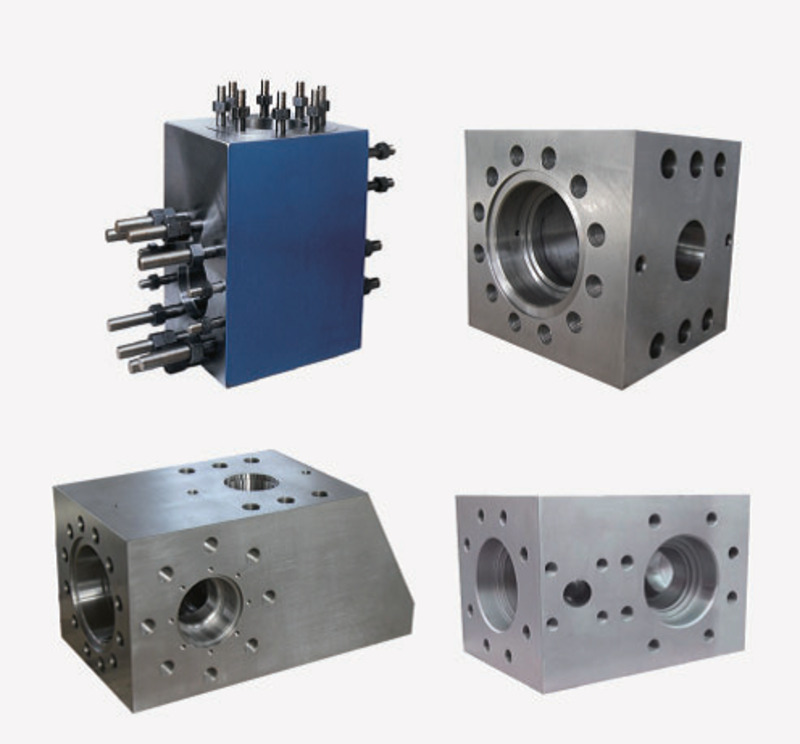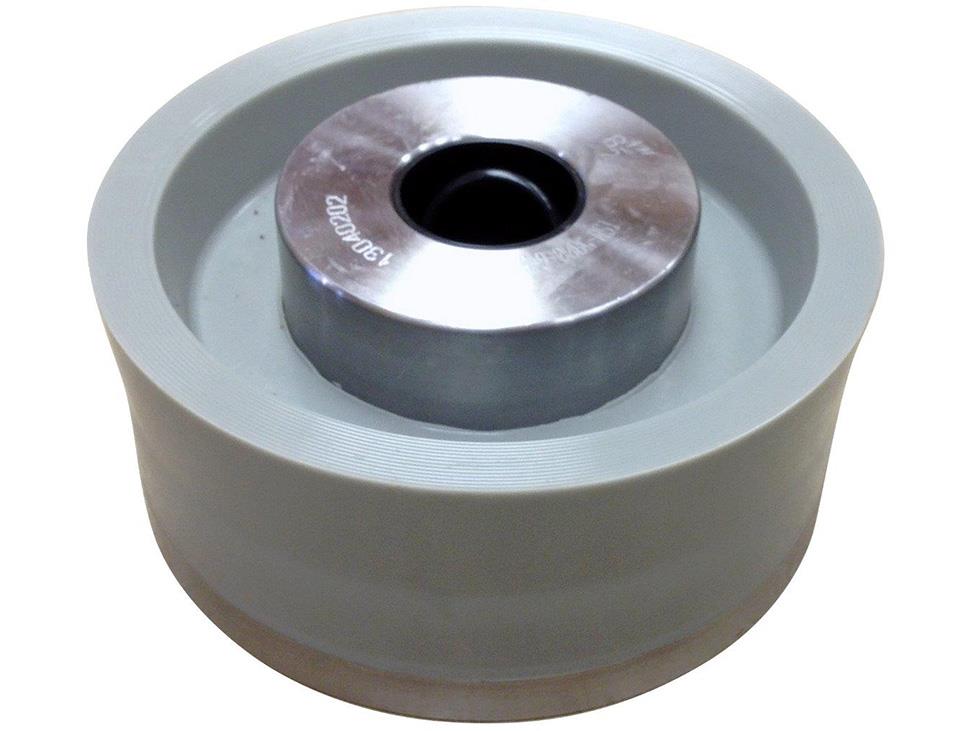

A leaking fluid end does not automatically mean that a mud pump valve seat is the only failed component. The valve, insert, spring, guide, seat taper, and pump pocket work as a system. If a crew replaces one visible part without documenting the wear pattern, the same symptom can return and valuable evidence may be lost.
This guide gives maintenance teams, drilling engineers, and buyers a practical way to examine mud pump valve seat wear. It focuses on sealing-surface evidence, paired valve-and-seat decisions, installation readiness, and the information that should accompany a replacement request. It does not assign a universal service-life limit because operating pressure, mud properties, solids, temperature, pump condition, and maintenance practice vary.

Why the valve and seat should be inspected as a pair
During every pressure cycle, the valve lands on the seat and the two profiles must meet consistently. Damage on one surface can transfer load to a smaller contact area on the other. A worn insert may also change how impact is absorbed, while guide or spring problems may allow the valve to approach the seat unevenly. For that reason, a seat should not be judged in isolation.
Start by confirming the component family and application. The site’s mud pump valves and seats page shows the relevant product category, while the broader fluid end expendables page helps place the assembly within the complete wear-parts system. Match parts by documented pump model, valve size, seat profile, part number, and supplier drawing where available. Appearance alone is not a compatibility check.
Record operating evidence before disassembly
Useful troubleshooting begins before the fluid end is opened. Record when the symptom started, whether it is continuous or intermittent, and whether it changes with pump speed, pressure, or fluid condition. Note any abnormal noise, pulsation, reduced volumetric response, temperature change, or maintenance performed shortly before the event. Preserve available trend data rather than relying only on memory.
Before work begins, isolate energy and pressure according to the rig’s approved procedures. Confirm zero-energy state, use the correct lifting and pulling tools, and follow the pump manufacturer’s maintenance instructions. This article is an inspection framework, not a substitute for the site’s safety system or the equipment manual.
Inspect the mud pump valve seat systematically
1. Examine the sealing and strike surfaces
Clean the parts without polishing away the evidence. Under good lighting, look for a continuous contact band and compare it around the circumference. A localized polished zone, step, pit, chip, embedded particle, wash channel, or asymmetric impact mark deserves attention. Photograph the complete seat and then capture close views with a scale reference. If the organization uses a wear limit, identify its source and record the measuring method.
Do not assume that a shiny area is automatically serviceable or that discoloration proves a specific material problem. Surface condition must be interpreted with dimensions, component history, mating-part evidence, and the manufacturer’s acceptance criteria.
2. Check the seat taper and pump pocket
The outside seat taper and the receiving pocket are separate from the valve-to-seat sealing interface, but both affect stability. Inspect for contamination, fretting, galling, corrosion, raised metal, or an incomplete contact pattern. A clean new seat can still fail to sit correctly if the pocket is damaged or debris is trapped on a taper.
The official NOV Mission application and troubleshooting guide emphasizes clean, dry tapered surfaces during seat installation and provides manufacturer-specific guidance on seating and puller use. Use that source only where it applies to the installed equipment; otherwise follow the correct OEM procedure.
3. Compare the valve, insert, guide, and spring
Inspect the mating valve face for matching marks. Check the insert for cuts, extrusion, hardening, deformation, or missing material, but do not identify elastomer grade from color unless traceable documentation supports it. Examine the guide and stem for uneven wear or binding, and compare the spring with the specified part. A good-looking seat paired with a damaged valve or unstable guidance may not restore reliable sealing.
What common wear patterns can suggest
- Even circumferential contact: generally indicates consistent landing, but dimensions and the mating valve still need verification.
- One-sided polishing or impact: may justify checking guide condition, alignment, debris, uneven seating, and pocket condition.
- Pitting or embedded solids: may be associated with abrasive contamination, impact, or local overstress; document fluid and solids history before assigning a cause.
- A narrow wash path: can indicate a leakage route, but the source may include the valve face, insert, seat interface, or adjacent fluid-end condition.
- Repeated damage after short operation: should trigger a system review instead of another like-for-like replacement without investigation.
A wear pattern is evidence, not a complete diagnosis. Combine visual findings with measurements, operating history, removed-part comparison, and the pump manufacturer’s limits. The related article on mud pump valve seat selection, inspection, and failure diagnosis provides a broader selection perspective; the present guide concentrates on sealing surfaces and pairing decisions.
When paired replacement deserves consideration
Replacing the valve and seat together may be the more controlled maintenance choice when both contact surfaces are damaged, when the wear patterns clearly correspond, when part identity cannot be verified, or when the manufacturer specifies paired components. It may also reduce uncertainty when a new component would otherwise run against a questionable mating profile.
Paired replacement is not a blanket rule. A site may have documented inspection criteria that permit reuse of a verified component. The decision should be based on traceable part identity, measured condition, OEM guidance, risk, downtime consequences, and the organization’s maintenance procedure—not on a universal hour count.
NOV’s official fluid end expendables resource groups drilling valves, seats, and springs as related components and provides product-specific flyers and troubleshooting material. The API digital standards catalog lists Specification 7K among drilling and well servicing equipment standards. A standard reference does not establish that a particular valve or seat carries an API Monogram; certification and scope must be verified separately.
Installation-readiness checklist
- Confirm pump manufacturer, model, valve size, seat profile, part number, and revision.
- Compare the replacement with the approved drawing or traceable reference component.
- Verify that the seat taper, pump pocket, valve face, guide, spring, and insert are clean and free from unacceptable damage.
- Prepare the correct installation and removal tools; inspect them before use.
- Follow the OEM sequence and site safety procedure rather than improvising impact or pulling methods.
- Record removed-part photographs, measurements, installation date, and the reason for replacement.
- After reassembly, use the approved start-up and leakage-check procedure and monitor the first operating period closely.
Information buyers should send with an inquiry
A precise request reduces compatibility risk. Send the pump make and model, valve size, seat style, known part numbers, operating service, fluid description, temperature range, pressure range, and clear photographs of the removed components. Include dimensional data only when the measurement method is known. If a drawing is available, identify its revision. For assistance organizing this information, use the site’s service contact page.
Frequently asked questions
Can a leaking mud pump valve be diagnosed from the seat alone?
No. The seat, valve face, insert, spring, guide, taper, pocket, and operating conditions should be reviewed together. A single photograph rarely proves root cause.
Should every valve and seat be replaced as a pair?
Not automatically. Pair replacement is appropriate when condition, identity, manufacturer instructions, or risk justify it. Reuse should follow documented acceptance criteria.
Does valve or insert color identify the material?
Not reliably. Color may be supplier-specific. Use part markings, certificates, drawings, or other traceable documentation.
What is the most important purchasing detail?
There is no single universal field. Pump model, valve size, seat profile, part number, and drawing or sample verification work together to establish compatibility.
Does an API 7K reference prove product certification?
No. A standard or purchasing-guideline reference describes scope or requirements. The specific product, manufacturer, license status, and Monogram scope must be verified independently.
Summary
Effective mud pump valve seat troubleshooting preserves evidence and evaluates the assembly as a system. Document the operating symptom, inspect both mating surfaces, check the seat taper and pocket, review the valve guidance components, and base replacement decisions on traceable criteria. This disciplined process gives maintenance teams better failure information and gives buyers a clearer specification for the next replacement.