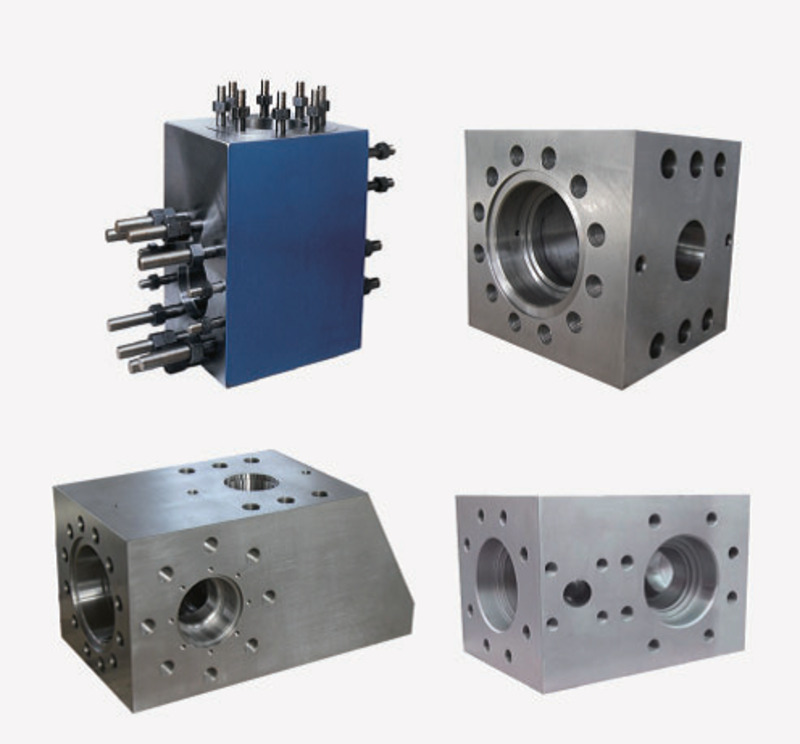

Mud pump piston leakage is often treated as a simple signal to install a new piston. That response may restore operation temporarily, but it can miss a damaged liner, incorrect fit, contaminated fluid, wash-system problem or installation error. A better troubleshooting process records the symptom, isolates the pump safely, compares wear patterns and checks the complete piston–liner system before deciding what to replace.
This guide is written for drilling engineers, maintenance teams and buyers who need practical evidence for a repair decision. It does not set universal service-life or dimensional limits. The installed pump manual, controlled drawings and site procedures remain the authority.
Start With the Operating Symptom, Not an Assumed Cause
Record what changed and when. Useful observations include visible leakage, loss of volumetric consistency, abnormal wash-fluid condition, unusual noise, a temperature change noted through the approved monitoring method, or debris found during inspection. Also record pump speed, fluid system changes, recent maintenance and the operating hours since the last verified intervention.
A single symptom rarely proves that the piston is the only cause. Leakage can involve the sealing element, liner bore, piston hub, rod connection, alignment, installation condition or a combination of these. Compare cylinders where the procedure allows, but do not keep operating a suspect assembly merely to collect more evidence when the site’s stop criteria have been reached.
Isolate the Mud Pump Before Opening the Fluid End
Stop the pump, isolate every applicable energy source, drain and depressurize the fluid end, prevent unintended movement and verify the safe state under the site procedure. Wear appropriate protection for residual drilling fluid and sharp or heavy components. A troubleshooting article cannot replace the equipment-specific isolation, lifting and disassembly instructions.
Mark the piston, cylinder and orientation before removal when doing so is permitted. This preserves evidence that can distinguish a localized wear path from random handling damage. Protect removed parts from contamination and avoid cutting or prying through a surface that must later be examined.
Inspect the Mud Pump Piston Systematically
Sealing element and working edge
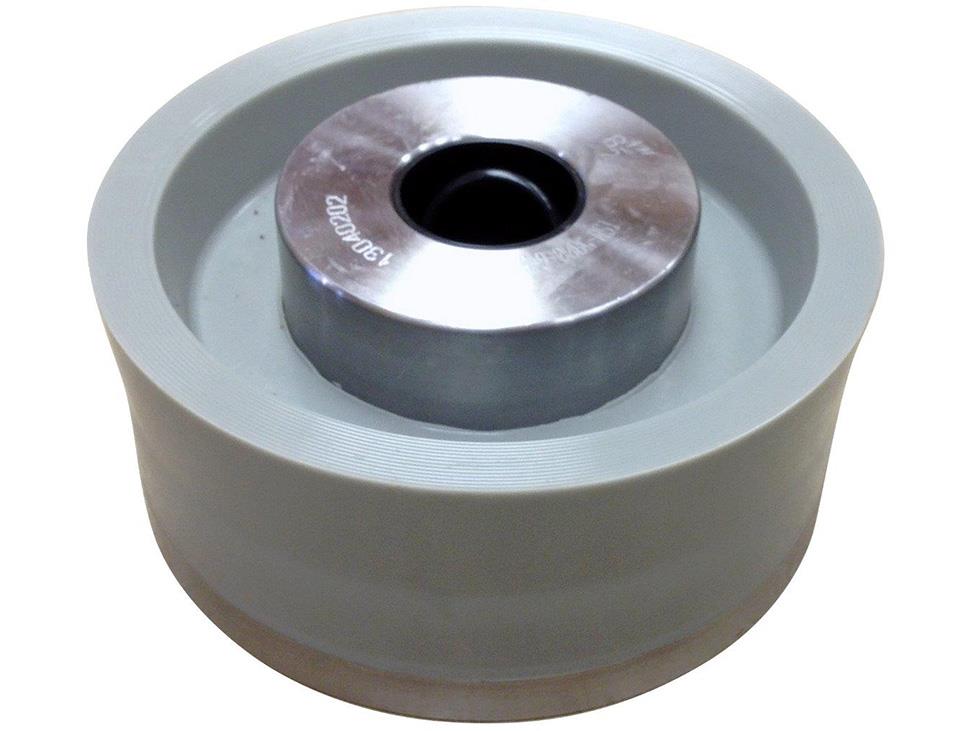
Inspect the complete circumference for cuts, missing material, tears, cracking, surface glazing, permanent deformation and extrusion. Note whether wear is broadly uniform or concentrated on one side. Photograph the piston at consistent angles and include a scale where allowed. Do not describe a material as nitrile, polyurethane or another compound solely from its color.
Hub, retainer and rod interface
Check the visible metal hub, retention features and piston-rod interface for looseness, fretting, deformation, burrs, thread damage or unexpected witness marks. Confirm the assembly sequence and condition of reusable hardware against the manual. A sealing element can be damaged quickly when the supporting parts are loose, misaligned or assembled incorrectly.
Heat, chemical and contamination indications
A hardened, softened, swollen, cracked or glazed appearance may be relevant, but visual evidence alone does not identify the fluid chemistry or temperature history. Review drilling-fluid changes, cleaning chemicals, storage conditions and the supplier’s material limitations. Retain a sample or record only when the approved troubleshooting plan requires it.
Inspect the Liner Before Blaming the Piston
Clean and inspect the liner using an approved method. Look for scoring, corrosion, deposits, localized damage and an uneven wear path. Measure the bore at defined axial and circumferential locations with a suitable calibrated gauge, then compare the results with the applicable manufacturer limits. One bore reading cannot describe taper, ovality or localized wear.
The site’s mud pump piston product page provides a starting point for a parts enquiry. For the surrounding wear system, the fluid end expendables page helps identify related components. Neither page replaces the exact pump model, drawing, bore size and material requirement needed for compatibility confirmation.
Read Wear Patterns as Clues, Not Automatic Conclusions
Generally uniform circumferential wear
Uniform wear may be consistent with normal service progression, but acceptance still depends on the specified condition and dimensional limits. Review total operating history, liner condition and leakage evidence before calling the pattern normal.
One-sided wear
Wear concentrated on one side can justify checks for liner condition, piston-rod alignment, crosshead or rod-related issues, runout, installation position and uneven support. The responsible technician should use the pump manual’s inspection sequence instead of correcting alignment by trial and error.
Localized cuts or embedded debris
Sharp cuts and embedded particles can point toward contamination or damage introduced during assembly. Inspect fluid cleanliness controls, liner condition, storage protection and the path used to install the piston. Remove debris only after its location and character have been documented.
Glazing, hardening or apparent thermal damage
Review wash-fluid supply and condition, friction sources, operating changes and material suitability. Do not assign a temperature or chemical cause from appearance alone. Instrument records and fluid information provide stronger evidence than a color change.
Extrusion, rolled edges or displaced material
Possible checks include piston and liner size confirmation, assembly orientation, retention, pressure history and transient events. There is no reliable universal conclusion from the pattern without equipment and material context.
Verify Fit, Material and Application Data
Before ordering a replacement, confirm the pump model, liner bore, piston design, hub or rod interface, part number and material designation. Similar outside shapes do not prove interchangeability. If the drilling fluid, temperature envelope or duty has changed, send the updated conditions to the responsible engineering function and supplier.
API’s official summary states that API Specification 7K includes piston mud-pump components within its scope. That fact does not automatically certify a specific piston. Any API Monogram or compliance claim must be supported by valid, product- and facility-specific evidence.
NOV’s Mission fluid end expendables and accessories resource page shows that mud pump pistons are offered in multiple styles and compositions and provides piston flyers plus an application and troubleshooting guide. It is useful evidence that selection is application-dependent, while the documentation for the installed pump must control the work.
Separate the Immediate Repair From the Root-Cause Action
The immediate repair may be to replace a damaged piston and an out-of-limit liner. The root-cause action may involve wash-fluid restoration, alignment correction, contamination control, a material review or a change to the installation process. Record both decisions so a repeated failure is not treated as a new, unrelated event.
Trend piston life only when the records use the same definitions. Include pump and cylinder identification, piston and liner part numbers, material, dates, operating hours or strokes when reliably available, fluid changes, measurements, photographs and the removal reason. Avoid promising a future service life from a small or inconsistent data set.
Build a Clear Replacement RFQ
- Pump manufacturer, model and serial or asset number.
- Liner bore and controlled liner or piston part number.
- Piston construction, hub or rod interface and required material designation.
- Quantity, required date and whether the need is planned or outage-critical.
- Photographs of markings and the complete wear pattern.
- Liner measurement summary and related fluid or operating changes.
- Required dimensional, material and traceability documents.
For broader selection considerations, review the site’s mud pump piston selection and maintenance guide. Technical identifiers, drawings and photographs can be submitted through the service and parts enquiry.
Replacement and Return-to-Service Checks
Confirm that the replacement part and liner match the controlled documentation before assembly. Inspect mating surfaces, approved reusable hardware, sealing components and tools. Follow the manufacturer’s instructions for lubrication, orientation, retention and tightening. Do not invent a torque value or substitute an unverified “equivalent” component.
After assembly, complete the specified checks before restoring full service. Observe the pump only from an approved safe position and follow the site response plan if leakage or another abnormal condition returns. Preserve the removed parts until the troubleshooting record and supplier disposition are complete.
Frequently Asked Questions
Does piston leakage always mean the piston is worn out?
No. The piston may be damaged, but the liner, fit, alignment, wash system, fluid exposure or installation condition may also contribute.
Can piston material be identified by color?
No. Use the part marking, purchase record and supplier documentation. Color alone is not a reliable material designation.
What does one-sided piston wear indicate?
It is a clue that justifies checking alignment, rod and liner condition, runout and assembly. It is not a complete root-cause diagnosis by itself.
Should the liner be replaced with every piston?
Follow the liner’s measured condition and the manufacturer’s limits. A universal replace-together rule may either waste a usable liner or leave a damaging liner in service.
What should be saved after a failure investigation?
Keep identifiers, photographs, dimensional results, operating context, fluid changes, removal reason and the approved repair and root-cause actions.
Final Takeaway
Effective mud pump piston troubleshooting treats leakage and wear as system evidence. Isolate safely, preserve the pattern, inspect the piston and liner, verify fit and application data, and separate the immediate repair from the root-cause action. That method supports a defensible replacement decision without unsupported compatibility or service-life claims.