
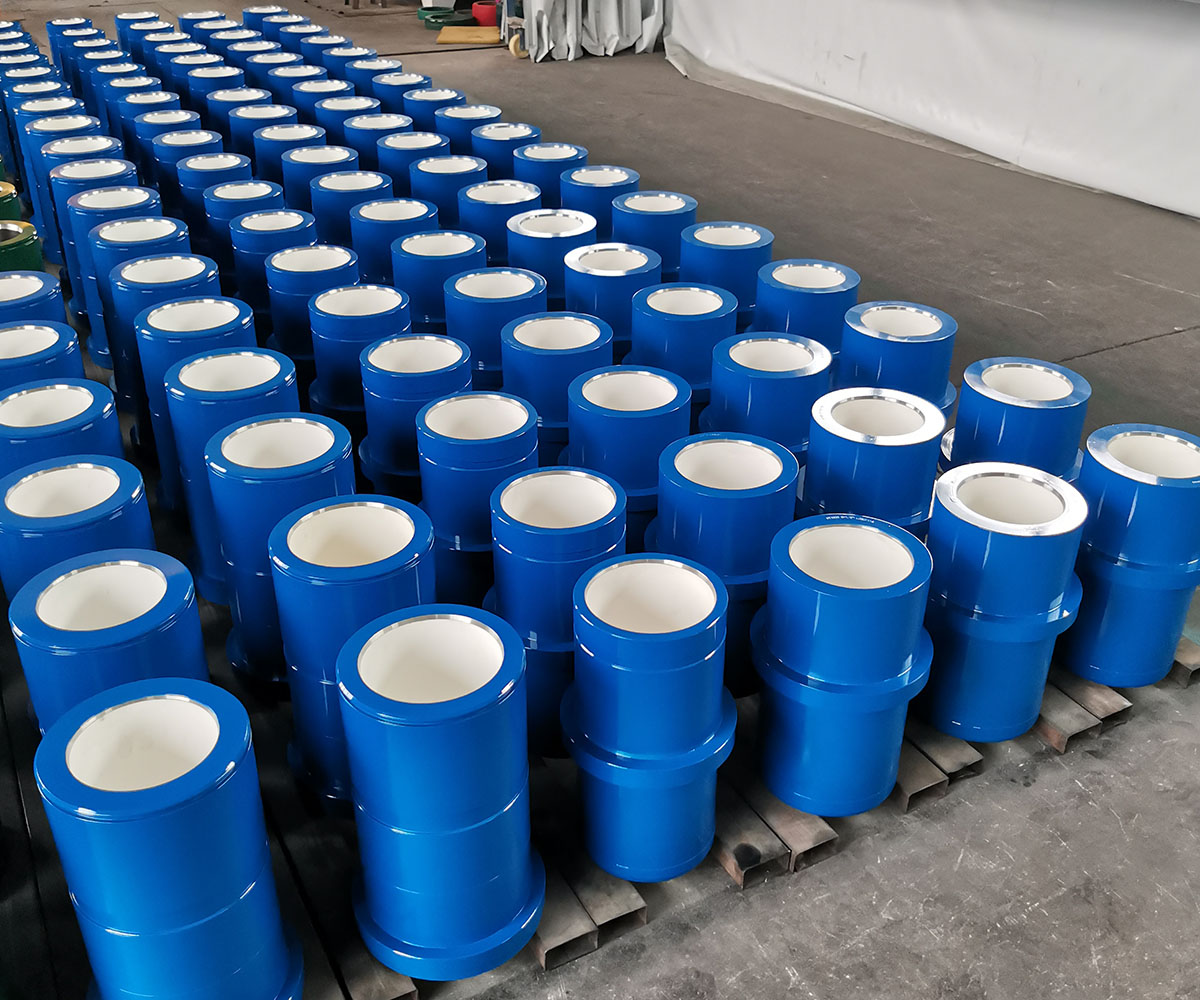
A mud pump ceramic liner can arrive looking complete while still carrying an identification, handling or dimensional issue that delays a shutdown. Incoming inspection creates a controlled record before the liner enters storage or reaches the pump room. For buyers, drilling engineers and maintenance teams, the objective is not to approve a part by appearance alone. It is to confirm that the delivered item matches the purchase requirement, has no visible transport damage and is ready for installation under the correct manufacturer procedure.
Why Incoming Inspection Matters
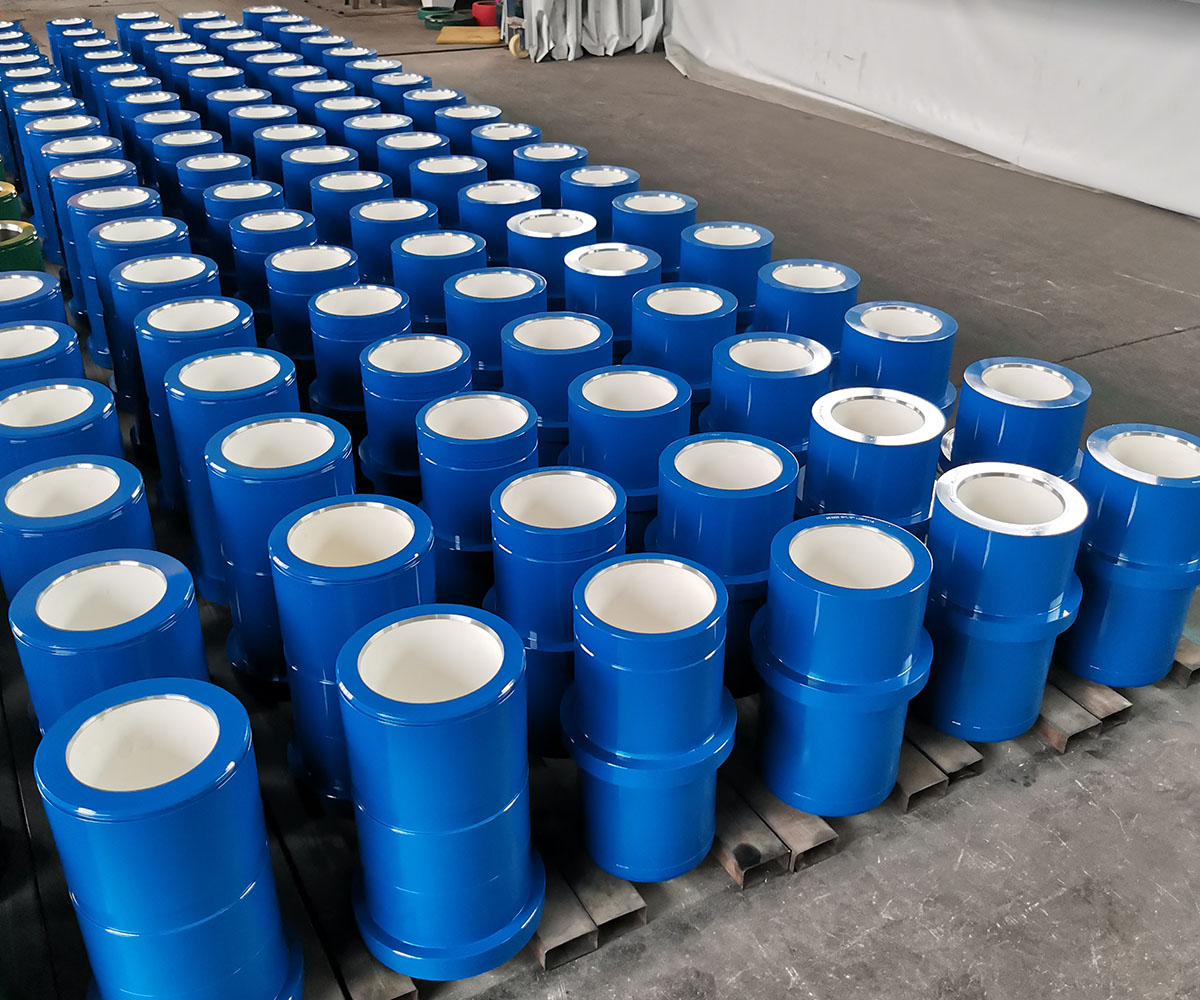
A ceramic liner combines a hard, wear-facing bore with an outer structure designed to fit the mud pump. The ceramic surface is useful in abrasive service, but ceramic materials should be protected from impact and edge damage. The steel body, shoulders and mating areas also matter because an undamaged bore does not prove that the complete assembly will fit.
Inspection at receipt separates transport condition from later storage or installation damage. It also gives procurement a chance to resolve part-number, quantity or document discrepancies before the maintenance window. The site’s mud pump ceramic liner product page can help begin a technical enquiry, but the approved drawing, pump manual and purchase order must control acceptance.
Step 1: Verify Identity Before Opening Every Package
Match the packing list and labels to the purchase order. Record the supplier, order number, liner part number, quantity, pump model or family, nominal bore and any drawing revision. If a serial, batch or heat reference is supplied, keep it linked to the individual package or inspection record.
Do not identify a liner only by paint color, overall appearance or a photograph. Similar-looking parts may have different bore sizes, overall lengths, shoulder positions, outside diameters or interface geometry. If the order specifies a particular ceramic grade or construction, confirm that the delivered documentation uses the same designation. Buyers comparing variants may also consult the site’s zirconia ceramic liner overview, while avoiding any assumption that one material is automatically suitable for every drilling fluid and duty.
Step 2: Document Packaging and Transport Condition
Before unpacking, photograph the label, package faces and any crushed, wet or punctured area. Note whether protective caps, spacers and corrosion protection are present as required by the order. Open the package in a clean area with a stable support so the liner cannot roll or drop.
If the package shows severe impact, isolate the item and increase the inspection level according to the purchaser’s quality plan. Do not use hammer blows, uncontrolled tapping or other improvised impact checks on a ceramic bore. A transport concern should be resolved through documented inspection or an approved test method, not by creating another source of damage.
Step 3: Perform a Controlled Visual Inspection
Ceramic bore and edges
Use clean, diffuse lighting and inspect the full accessible bore. Look for chips, cracks, spalling, unusual scoring and edge damage. Pay particular attention to exposed ends and transitions where handling contact may occur. A stain, machining pattern or harmless surface variation should not be called a crack without appropriate evaluation; record the observation and escalate uncertain indications.
Outer body and interfaces
Inspect the steel shell for dents, deep corrosion, burrs and damage to shoulders or other mating areas. Check the visible interface between materials for gaps, movement or damage that is not permitted by the acceptance criteria. Protective coating on a non-mating surface may be acceptable, but coating, contamination or raised damage on a controlled fit surface requires review.
Identification marks
Confirm that part, batch and material markings remain legible and correspond to the documents. Do not infer API Monogram status from general marketing language. API explains that API Specification 7K covers piston mud-pump components within its stated scope, but a product-specific compliance or Monogram claim still requires valid evidence for the actual manufacturer, facility and item.
Step 4: Verify Dimensions Against a Controlled Drawing
Create a measurement plan from the approved drawing or manufacturer instruction. Depending on the design, relevant checks may include bore, outside diameter, overall length, shoulder location, flange or groove geometry and concentricity-related features. Not every dimension should be measured with the same tool, and no universal tolerance should be invented.
Use calibrated instruments suitable for the range and required accuracy. Ensure the liner and measuring equipment are clean and at a stable condition appropriate to the procedure. Protect the ceramic bore from hard contact by using the approved gauge and technique. Record the instrument identification, measurement locations, values and acceptance criteria rather than writing only “pass.”
The NOV Mission fluid-end expendables resource page lists ceramic-liner information, liner-bore gauges, a lifting-tool flyer and a troubleshooting guide. Those resources illustrate why identification, gauging and handling instructions are equipment-specific; they do not replace the manual for a different liner or pump.
Step 5: Check Traceability and Required Documents
Compare the delivered document package with the purchase specification. Required records may include a certificate of conformity, material or inspection records, dimensional report, packing list and traceability references, but only when the order calls for them. A missing document is a purchasing nonconformance even when the part appears undamaged.
If API requirements are cited, verify the applicable edition, addenda, errata and licensing basis instead of copying an old certificate statement. API maintains an official standards and Monogram updates page that purchasers can use when reviewing the current status of API 7K information.
Step 6: Store and Handle the Liner Without Creating Damage
Keep accepted liners in a clean, dry, identified location. Retain protective caps and support the body so it cannot roll, collide with another liner or place an unintended load on a ceramic edge. Separate quarantined items physically and in the inventory system.
Use a lifting method approved for the liner and its mass. Do not put hands beneath a suspended component, improvise a lifting point or allow a chain, hook or hard sling fitting to strike the ceramic surface. The site lift plan, equipment manual and qualified personnel determine the safe method. Storage rotation should preserve traceability and prevent an older uninspected package from being selected by mistake.
Installation Readiness Checklist
Incoming acceptance does not authorize installation by itself. Before work begins, confirm that the pump is stopped, isolated from all energy sources, drained and depressurized under the site procedure. Verify the replacement liner once more at the job location and compare it with the removed part and controlled documentation.
- Correct pump, liner part number, bore and configuration confirmed.
- Visual and dimensional records accepted by the responsible function.
- Required seals, gaskets, piston components and approved tools available.
- Mating surfaces inspected and cleaned without damaging the pump or liner.
- Approved lifting arrangement and sufficient workspace established.
- Manufacturer installation sequence, lubrication requirements and tightening values available.
- Post-installation checks and return-to-service responsibilities assigned.
There is no safe universal tightening value, liner-clearance rule or break-in sequence for every pump. Follow the current manual for the installed equipment and document any approved deviation. The related mud pump liner procurement guide provides additional purchasing context, while the site’s service and parts enquiry can be used to submit identifiers, drawings and photographs.
How to Manage a Nonconforming Liner
When a discrepancy is found, stop the acceptance process and mark the item so it cannot be issued accidentally. Record the part and batch information, location and size of the indication, photographs, measurement data and the requirement that was not met. Notify procurement and the responsible engineering or quality function.
Do not grind, polish, fill, heat or otherwise repair a ceramic liner unless a documented, technically approved disposition permits the work. Possible dispositions include return, replacement, further inspection or formal acceptance by authorized personnel. The supplier’s response should be linked to the original nonconformance record.
Frequently Asked Questions
Can a ceramic liner be accepted from a visual check alone?
No. Visual inspection is important, but identity, dimensions, documents and purchase-order requirements also need confirmation.
What dimensions should be measured?
Use the approved drawing or manufacturer inspection plan. Bore, outside diameter, length and interface features may be relevant, but the actual list and tolerances depend on the design.
Does API 7K automatically prove that a delivered liner is certified?
No. The standard’s scope and a supplier’s product-specific certification or Monogram claim are different questions. Verify valid evidence for the actual item and manufacturer.
Can a chipped ceramic edge be repaired at the rig?
Do not improvise a repair. Quarantine the liner and obtain an approved engineering or supplier disposition.
When should the liner be inspected again?
Recheck identity and condition before installation, especially after storage or transport to the rig. In-service inspection intervals must follow the pump manual, operating history and site maintenance plan.
Final Takeaway
A reliable mud pump ceramic liner inspection is a traceable sequence: verify identity, document transport condition, inspect surfaces, measure against controlled requirements, confirm records and protect the accepted item through storage and installation. This approach prevents avoidable shutdown delays without inventing tolerances, service-life promises or compatibility claims.